Download 네이버 블로그 다녀간 블로거 자동 삭제 1.2
FREETotal Downloads:348
Released:2018-04-11
Current Version Available in the
Chrome Web Store
How to install 네이버 블로그 다녀간 블로거 자동 삭제 extension 1.2 from crx file
- To use an 네이버 블로그 다녀간 블로거 자동 삭제 extension 1.2 CRX file, first download the file to your computer.
-
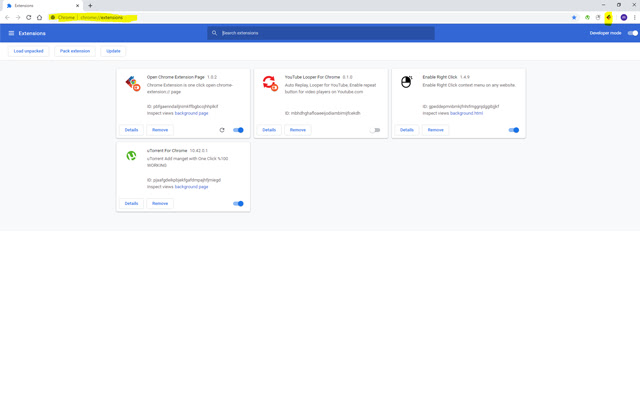
Then open the Chrome browser and go to the Chrome Extensions page: chrome://extensions/
- Drag and drop the 네이버 블로그 다녀간 블로거 자동 삭제 CRX file onto that page. Chrome will then install the extension.
- Once installed, the 네이버 블로그 다녀간 블로거 자동 삭제 extension will appear in the list of installed extensions. You can then enable or disable the 네이버 블로그 다녀간 블로거 자동 삭제 extension as needed.
How to install 네이버 블로그 다녀간 블로거 자동 삭제 extension 1.2 from zip file
- To use an 네이버 블로그 다녀간 블로거 자동 삭제 extension 1.2 zip file, first download the file to your computer.
-
Then open the Chrome browser and go to the Chrome Extensions page: chrome://extensions/
- Enable the Developer Mode.
- Click the Load unpacked button.
- Select and upload the 네이버 블로그 다녀간 블로거 자동 삭제 1.2 extracted folder (not the ZIP file). Chrome will then install the 네이버 블로그 다녀간 블로거 자동 삭제 extension.
- Once installed, the 네이버 블로그 다녀간 블로거 자동 삭제 extension will appear in the list of installed extensions. You can then enable or disable the extension as needed.
Key details about this download
- The file will be downloaded from author's server
- This file is safe and scanned with 70 antivirus apps
- All files are in original form. ChromeLists.com does not repack or modify downloads in any way